Cannabutter unlocks a whole new way to enjoy homemade edibles in your own kitchen. Most people know it uses cannabis and butter, but many do not realize that up to 30 percent of the THC can be lost if you skip the decarboxylation step. Think you only need to toss some weed in melted butter and call it a day? The real secret to powerful, tasty edibles comes down to careful prep, precision grinding, and infusing at the perfect low heat—all steps that can make or break your batch.
Table of Contents
Quick Summary
| Key Point |
Explanation |
| 1. Select Quality Cannabis Carefully |
Choose dried, cured cannabis flowers for optimal potency and effects in your cannabutter. |
| 2. Grind Cannabis to Medium-Fine Texture |
A consistent grind increases surface area for better cannabinoid extraction during infusion. |
| 3. Maintain Low, Steady Heat During Infusion |
Keep the butter and cannabis mixture between 160°F and 180°F to avoid degrading cannabinoids. |
| 4. Strain Cannabutter with Care |
Use a fine mesh strainer to remove plant material and ensure a smooth, clean final product. |
| 5. Store Cannabutter in Airtight Containers |
Refrigerate or freeze your cannabutter in sealed containers to preserve potency and freshness. |
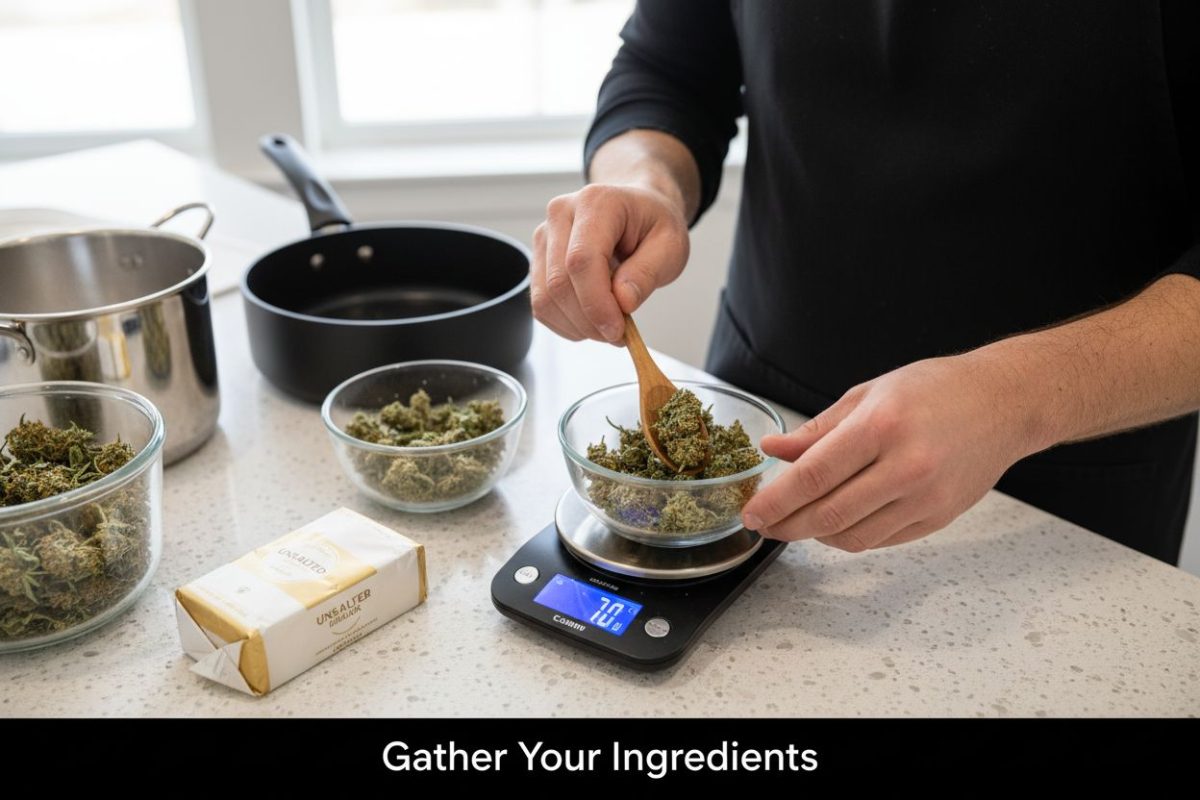
Successful making cannabutter at home begins with meticulous preparation and having the right equipment. Before diving into the process, understanding what you need will streamline your entire experience and ensure a high-quality final product.
Essential Cannabis Preparation
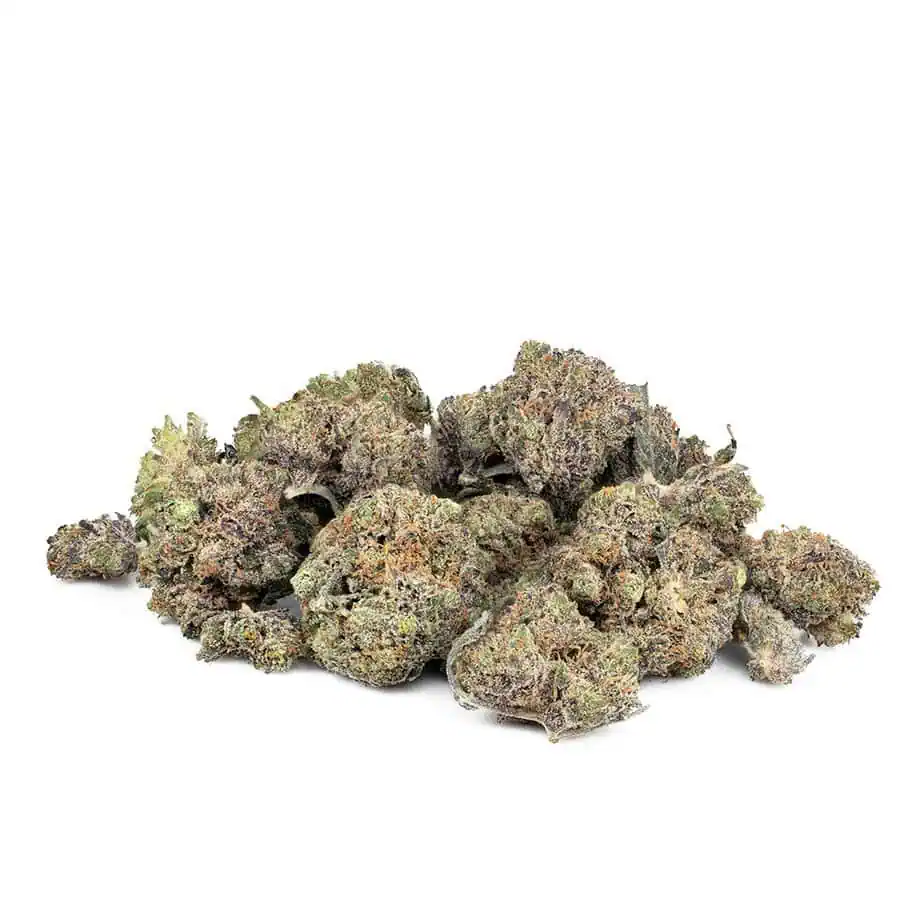
The first critical component is selecting your cannabis. Quality matters significantly when making cannabutter, so choose dried, cured cannabis flowers that are clean and free from moisture. Typically, you want cannabis with a good balance of THC and CBD, depending on your desired effects. Grinding your cannabis to a consistent, medium-fine texture will help maximize cannabinoid extraction and create a more uniform infusion.
Required Tools and Ingredients
To create cannabutter successfully, you will need several specific tools and ingredients. Here’s a comprehensive list of what you should have ready:
- Cannabis: 7-14 grams of dried cannabis flower
- Butter: 1 pound (454 grams) of unsalted butter
- Large saucepan or stockpot
- Fine mesh strainer or cheesecloth
- Glass storage container with lid
- Digital kitchen scale
- Wooden spoon
- Oven mitts
Preparing your workspace is equally important. Choose a clean, well-ventilated area with stable temperature and minimal humidity. Ensure all your tools are thoroughly cleaned and dried before starting.
Below is a summary table of all essential tools and ingredients needed for making cannabutter, including their purpose during the process.
| Item |
Specification |
Purpose |
| Cannabis |
7-14 g dried flower |
Source of cannabinoids for infusion |
| Unsalted Butter |
1 lb (454 g) |
Fat medium for extracting cannabinoids |
| Large Saucepan/Stockpot |
Heavy-bottomed |
Even heat distribution during infusion |
| Fine Mesh Strainer/Cheesecloth |
– |
Strain plant material from final butter |
| Glass Storage Container |
With airtight lid |
Store finished cannabutter safely |
| Digital Kitchen Scale |
– |
Accurate measuring of ingredients |
| Wooden Spoon |
– |
Stirring mixture without damaging pan |
| Oven Mitts |
– |
Safe handling of hot equipment |
Temperature control is crucial during cannabutter making. You want to maintain a low, steady heat that activates cannabinoids without burning your mixture. A digital thermometer can be incredibly helpful in monitoring precise temperatures throughout the infusion process. By carefully selecting your ingredients and organizing your tools, you set the foundation for creating potent, high-quality cannabutter right in your own kitchen.
The following table provides an overview of the main steps in making cannabutter at home, with approximate time estimates and key outcomes for each stage.
| Step |
Description |
Estimated Time |
Key Outcome |
| 1 |
Gather ingredients & tools |
15-20 min |
All required items prepared |
| 2 |
Grind cannabis |
5-10 min |
Consistent medium-fine texture |
| 3 |
Decarboxylate cannabis |
30-40 min |
Activated cannabinoids (THC) |
| 4 |
Infuse with butter |
2-3 hours |
Cannabinoids extracted into butter |
| 5 |
Strain & store cannabutter |
30-45 min (cooling) |
Smooth, clean, safe for recipes |
| 6 |
Verify consistency & potency |
5-10 min |
Ensures quality and safe dosing |
As Leafly’s cannabis cooking guide recommends, always start with decarboxylated cannabis to ensure maximum potency and effectiveness in your final product.
Step 2: Prepare the Cannabis for Infusion
Preparing cannabis for infusion is a critical step that determines the potency and quality of your final cannabutter. This process involves two essential techniques: grinding and decarboxylation, which activate the cannabinoids and maximize their potential.
Precision in Grinding
Begin by breaking down your cannabis into a consistent, medium-fine grind using a dedicated herb grinder. Avoid using your hands, as this can introduce moisture and reduce the quality of your infusion. The goal is to create a uniform texture that increases surface area for optimal cannabinoid extraction. Think of grinding like preparing coffee beans – you want small, even particles that will release their active compounds efficiently.
Your grind should resemble a coarse sand texture, not a fine powder. Overly fine grinding can result in a bitter-tasting butter and make straining more difficult. If you do not have a grinder, you can carefully use clean scissors, but this method requires more patience to achieve consistent results.
Decarboxylation: Activating Cannabinoids
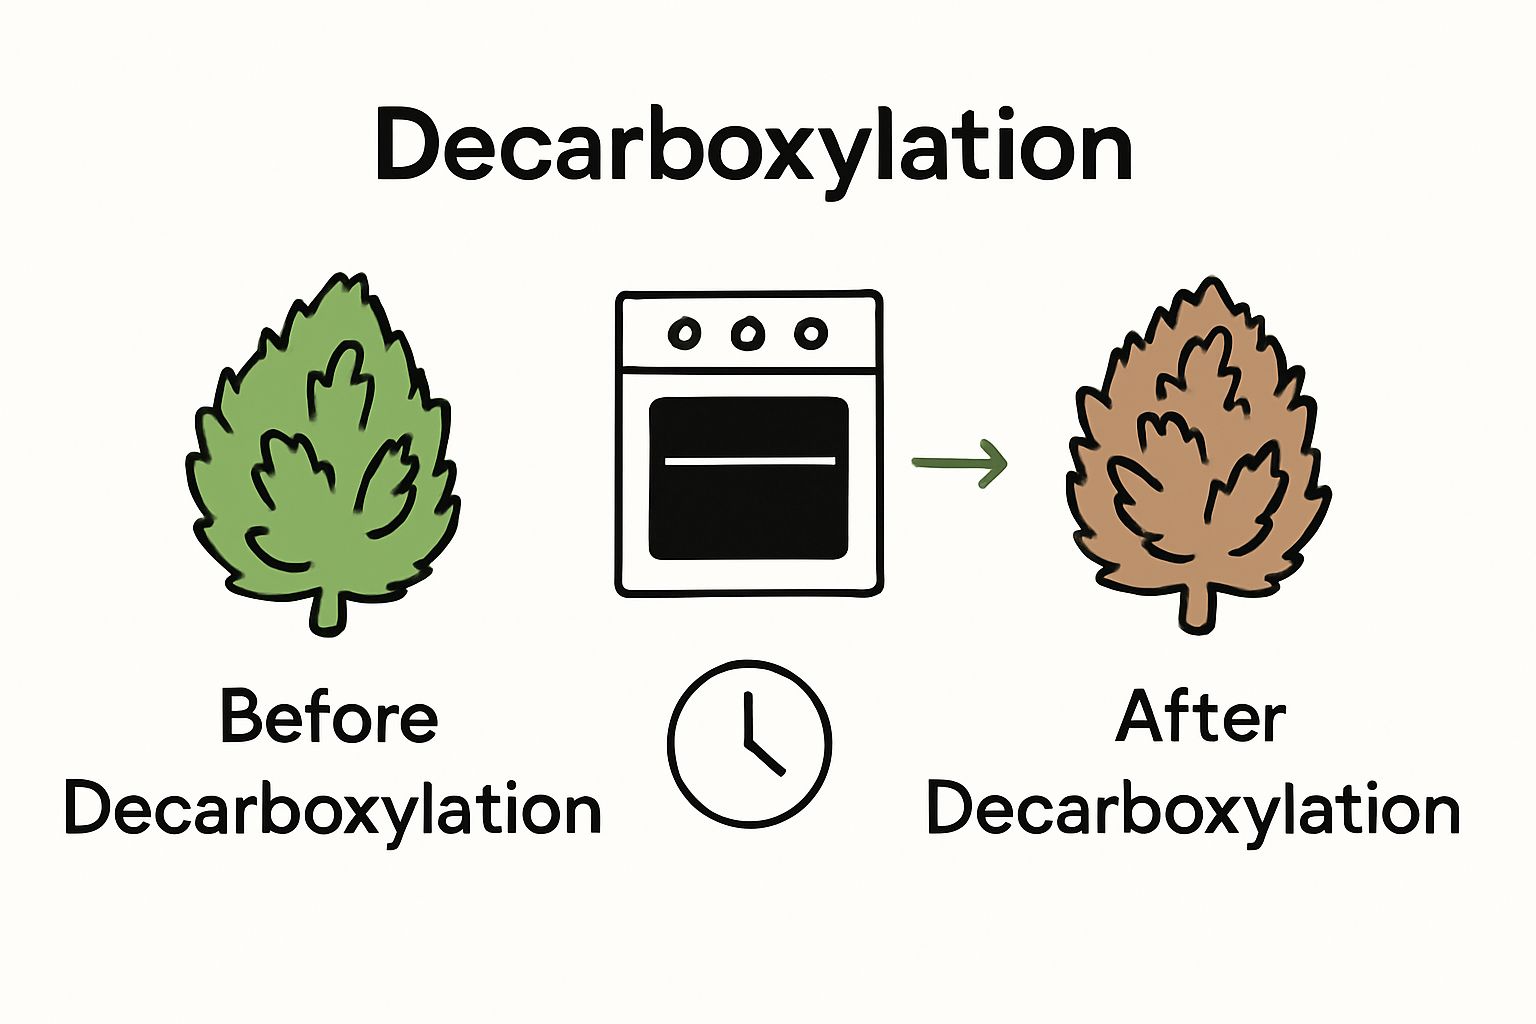
Decarboxylation transforms the non-psychoactive THCA in raw cannabis into the psychoactive THC, unlocking the plant’s full potential. This process involves carefully heating your ground cannabis in an oven to activate its compounds. Preheat your oven to 240°F (115°C) and prepare a baking sheet lined with parchment paper.
Spread your ground cannabis in a thin, even layer across the parchment paper. Bake for approximately 30-40 minutes, gently stirring the cannabis every 10 minutes to ensure uniform heating. The cannabis will change color slightly, turning from bright green to a light to medium brown.
 This color shift indicates the decarboxylation process is working.
After removing the baking sheet, let the cannabis cool completely before handling. The decarboxylated cannabis is now primed for infusion, with its cannabinoids fully activated and ready to bind with butter.
For those interested in exploring more cannabis-infused recipes after mastering cannabutter, check out our THC infused chocolate chip cookie recipe for additional inspiration.
As Marijuana Break’s cannabis cooking guide confirms, proper decarboxylation is fundamental to creating potent and effective cannabis-infused products.
Step 3: Decarb the Cannabis for Optimal Potency
Decarboxylation transforms raw cannabis into a potent ingredient by activating its cannabinoids through precise heat application. This crucial step converts non-psychoactive THCA into THC, ensuring your cannabutter delivers the desired effects and maximum therapeutic potential.
Understanding Decarboxylation Process
Before infusing butter, you must activate the cannabis through controlled heating. Raw cannabis contains THCA, which does not produce psychoactive effects. Applying gentle, consistent heat breaks down the molecular structure, releasing THC and enabling your body to absorb cannabinoids effectively. Think of decarboxylation like unlocking a hidden treasure within the plant material.
Preheating your oven to exactly 240°F (115°C) is critical. This specific temperature allows cannabinoid activation without burning or destroying delicate compounds. Use an oven thermometer to verify accuracy, as home ovens can have temperature variations that might compromise your decarboxylation process.
Precise Decarboxylation Technique
Spread your finely ground, dried cannabis across a parchment-lined baking sheet in a uniform, thin layer. Avoid overcrowding, which can lead to uneven heating. Cover the sheet with aluminum foil to prevent excessive moisture loss and protect delicate trichomes. Place the baking sheet in the preheated oven and set a timer for 30-40 minutes.
During the process, gently shake or stir the cannabis every 10 minutes to ensure even heat distribution. You will notice a subtle color transformation from bright green to a light golden-brown, indicating successful decarboxylation. The cannabis should smell slightly toasted but not burnt. After removing from the oven, allow the material to cool completely at room temperature before proceeding to the next step.
If you are interested in exploring more cannabis-infused recipes after mastering cannabutter, our guide on making marijuana edibles offers additional creative culinary inspiration.
According to Leafly’s cannabis science experts, proper decarboxylation is essential for releasing the full potential of cannabis compounds and ensuring an effective final product.
Step 4: Infuse the Butter with Cannabis
Infusing butter with cannabis transforms your decarboxylated herbs into a potent culinary ingredient. This delicate process requires patience, precision, and careful temperature management to extract maximum cannabinoid content while preserving the butter’s rich flavor.
Selecting the Right Butter and Technique
Choose unsalted butter for your infusion, as its pure fat content provides an ideal medium for cannabinoid extraction. Salted butter can introduce unwanted flavors and potentially interfere with the infusion process. Use a heavy-bottomed saucepan to ensure even heat distribution and prevent burning. The key is maintaining a low, steady temperature between 160°F and 180°F, which allows cannabinoids to bind with butter’s fat molecules without degrading their potency.
Add your measured butter and decarboxylated cannabis to the pan, using a ratio of approximately one cup of butter to seven to ten grams of cannabis. Stir the mixture gently to ensure even distribution. Some home chefs prefer adding a small amount of water to prevent butter from scorching, which can help maintain a more consistent temperature throughout the infusion.
Slow Cooking and Extraction Process
Simmer the butter and cannabis mixture on the lowest possible heat setting, stirring occasionally to prevent sticking. This low and slow method allows cannabinoids to gradually integrate into the butter without burning. The ideal infusion time ranges between 2-3 hours, during which the mixture should never reach a full boil. Watch for small bubbles around the pan’s edges, indicating the perfect extraction temperature.
As the mixture simmers, the butter will transform into a rich, golden-green color, signaling successful cannabinoid transfer. The cannabis pieces will appear slightly darker and more saturated. Use a wooden spoon to gently press the cannabis against the pan’s sides, helping release additional compounds.
Once infusion is complete, carefully strain the mixture through a fine mesh strainer or cheesecloth into a clean glass container. Press the cannabis gently to extract maximum butter, but avoid squeezing too hard, which can introduce bitter plant materials.
For cannabis enthusiasts looking to expand their culinary repertoire, our guide on cannabis and CBD infused butter offers additional insights and techniques.
According to Leafly’s cannabis cooking experts, maintaining consistent low heat is crucial for creating high-quality cannabutter that preserves both flavor and potency.
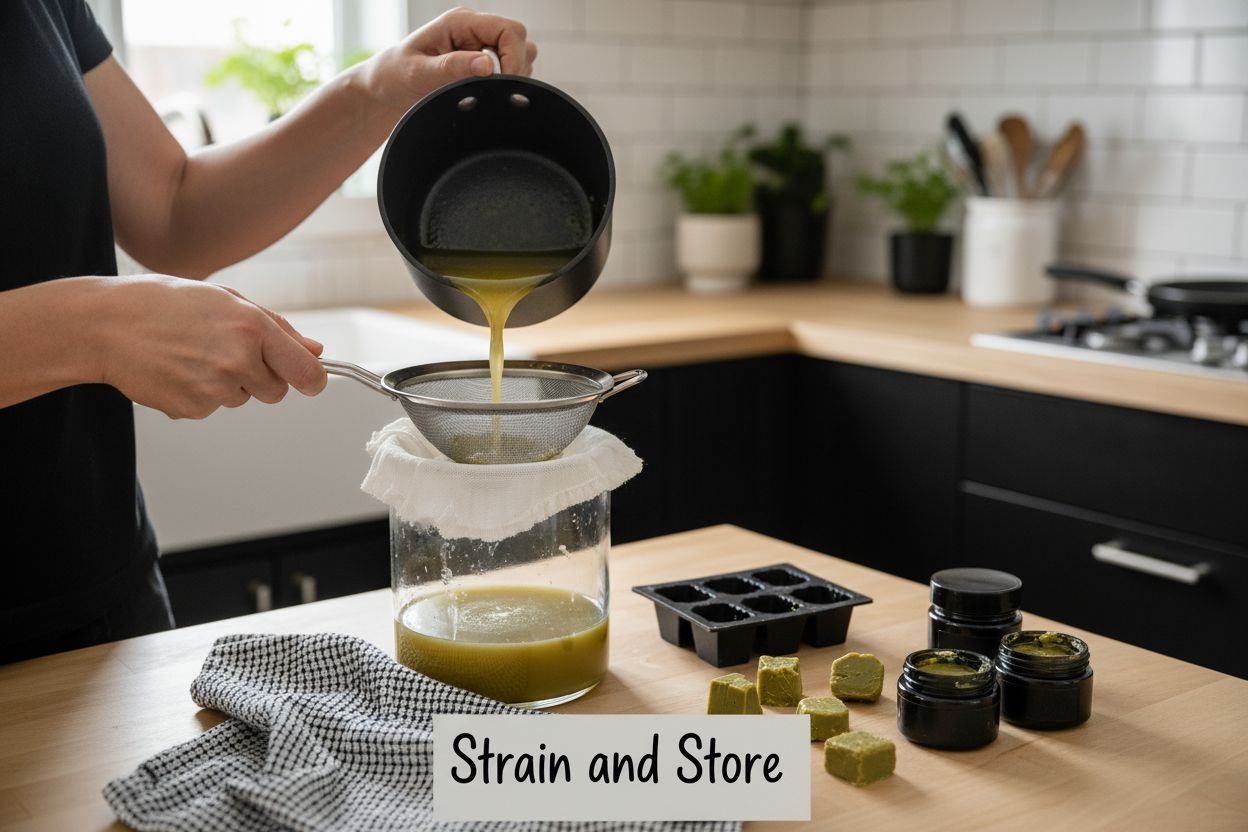
Step 5: Strain and Store Your Cannabutter
Storing your freshly crafted cannabutter properly is crucial for maintaining its potency, flavor, and safety. This final step transforms your infused butter from a raw ingredient into a culinary treasure ready for future use in various recipes and preparations.
Precision Straining Technique
Careful straining determines the quality and smoothness of your final cannabutter. Use a fine mesh strainer or multiple layers of cheesecloth positioned over a clean glass container. The goal is to separate the plant material completely from the infused butter, ensuring a smooth, clean final product. Gently pour the warm butter mixture through the strainer, allowing gravity to do most of the work. Resist the temptation to squeeze or press the cannabis material too aggressively, as this can introduce unwanted bitter plant particles and chlorophyll into your butter.
As the butter passes through the strainer, you will notice a rich, golden-green liquid collecting in the container below. Let the straining process happen naturally, which might take several minutes. If you want an exceptionally clear butter, you can strain the mixture a second time using a fresh piece of cheesecloth.
Optimal Storage Strategies
Once strained, allow the cannabutter to cool at room temperature for approximately 30-45 minutes. As it cools, a layer of water might separate at the bottom if you added water during the infusion process. This is normal and can be easily removed once the butter solidifies. Transfer the cooled cannabutter to an airtight glass container with a secure lid. Refrigeration is key for preserving potency and preventing bacterial growth.
Properly stored cannabutter can last up to two weeks in the refrigerator and up to three months in the freezer. Always label your container with the date of preparation and estimated potency to track its freshness. Store in the coldest part of your refrigerator, away from light and heat sources that could degrade the cannabinoids.
Before using in any recipe, allow the cannabutter to come to room temperature and give it a gentle stir to reincorporate any separated components. Pro tip: Portion your cannabutter into smaller containers or use silicone molds for easier portioning and future use.
For cannabis cooking enthusiasts looking to expand their culinary horizons, our guide on marijuana edibles offers exciting recipe ideas and techniques.
According to Bon Appétit’s cannabis cooking experts, proper storage is essential for maintaining the quality and effectiveness of your homemade infused butter.
Step 6: Verify the Consistency and Potency
Verifying the consistency and potency of your homemade cannabutter is a critical step that ensures both safety and effectiveness. This final assessment helps you understand the strength of your infusion and determines how you will use it in future culinary adventures.
Visual and Textural Inspection
Once your cannabutter has completely cooled and solidified, perform a comprehensive visual inspection. High-quality cannabutter should have a smooth, uniform golden-green color without any significant discoloration or separation. The texture should be consistent, similar to regular butter, with a slightly glossy appearance. Any signs of excessive graininess, dark spots, or unusual odors might indicate improper infusion or potential spoilage.
Gently press the butter with a clean utensil. It should feel firm yet spreadable, much like standard butter. If the texture appears overly watery or extremely hard, this could suggest issues with your initial infusion process. The butter’s edges should be clean and well-defined, without significant crumbling or excessive oiliness.
Potency Estimation and Dosage Calculations
Estimating cannabutter potency requires careful consideration of your starting cannabis material. The strength depends on multiple factors including the cannabis strain’s THC percentage, the amount used, and the infusion efficiency. As a general guideline, if you started with 7 grams of cannabis with approximately 15% THC content in one cup of butter, each tablespoon could contain roughly 5-10 milligrams of THC.
To test potency safely, begin with a very small amount in a recipe, preferably no more than 1/4 to 1/2 teaspoon for your first trial. Wait at least two hours after consumption to understand its full effects. Start low and go slow is the golden rule when experimenting with homemade cannabis-infused products.
Consider using a home testing kit for more precise potency measurement, though these can be expensive and may not be completely accurate. Professional laboratory testing provides the most reliable results but is typically cost-prohibitive for home producers.
If you’re interested in exploring more cannabis culinary techniques, our guide on cannabis capsules offers additional insights into precise dosing and preparation.
According to Project CBD’s dosage guidelines, individual tolerance varies significantly, making careful, incremental testing crucial for a safe and enjoyable experience.
Take Your Cannabutter Creations to the Next Level at GreenSociety.cc
You have learned how important it is to use quality cannabis and precise preparation to master homemade cannabutter. There is nothing more disappointing than putting time into your infusion only to end up with subpar potency or inconsistent results. If you want to ensure every batch achieves the best possible quality, starting with premium products and reliable accessories makes all the difference. Imagine how much easier your process could be with access to expertly curated cannabis flowers, extracts, and baking supplies delivered right to your door.
Ready to perfect your next edible infusion? Visit GreenSociety.cc to discover a full range of top-quality cannabis, concentrates, and accessories. With discreet shipping, fresh deals, and a knowledgeable team supporting your experience, you can confidently craft potent edibles every time. Start shopping today and unlock better ingredients and expert support for your next batch.
Frequently Asked Questions
How do I properly decarboxylate cannabis for making cannabutter?
To decarboxylate cannabis, preheat your oven to 240°F (115°C). Spread your ground cannabis evenly on a parchment-lined baking sheet and bake for 30-40 minutes, stirring every 10 minutes. This process activates the cannabinoids, preparing them for infusion with butter.
What type of butter should I use for making cannabutter?
It is recommended to use unsalted butter to ensure a pure infusion. Salted butter can introduce unwanted flavors and affect the infusion process.
How can I determine the potency of my cannabutter?
To estimate the potency, consider the THC percentage of your starting cannabis and the amount used. A general guideline is that 7 grams of cannabis at approximately 15% THC can yield about 5-10 mg of THC per tablespoon of cannabutter. For accurate dosing, always start with a small amount and wait at least two hours to gauge the effects.
How should I store my cannabutter to maintain its quality?
Store your cannabutter in an airtight glass container in the refrigerator to preserve its potency and prevent bacterial growth. It can last up to two weeks in the fridge or up to three months in the freezer.
Recommended
 Faded Cannabis Co. Strawberry Daze Gummies
$14.00
Faded Cannabis Co. Strawberry Daze Gummies
$14.00 Twisted Extracts Black Cherry ZZZ Bomb
$12.00
Twisted Extracts Black Cherry ZZZ Bomb
$12.00 Twisted Extracts Black Cherry ZZZ Bomb
  Green Society Herb Grinder
  Faded Cannabis Co. Fizzy Colas
  Faded Cannabis Co. Party Pack Gummies
  Mystery Gift
  High Dose Tropical Punch Gummies
  High Dose Blue Raspberry Gummies
  High Dose Watermelon Gummies
 This color shift indicates the decarboxylation process is working.