Free Shipping
on orders over $150.00
$0.00
$150.00
Add $150.00 more for free shipping!
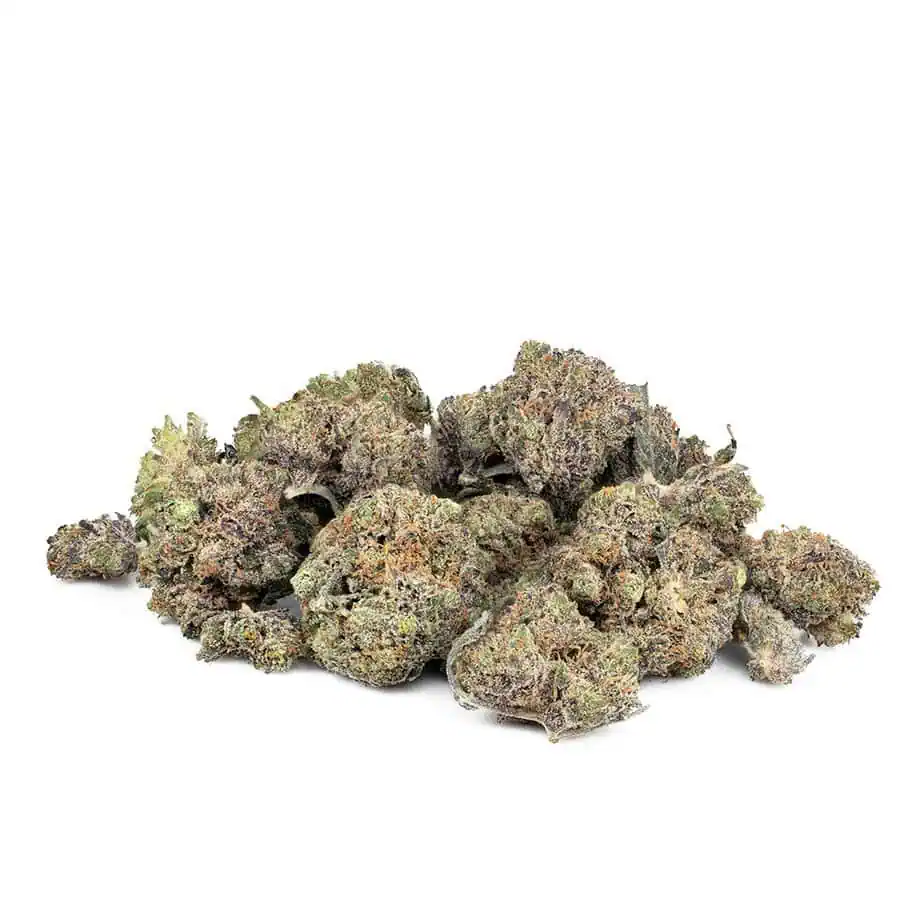
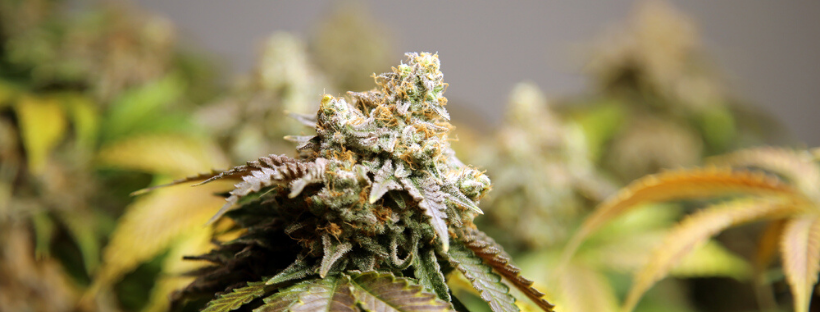
Stunning Indica Marijuana If you’re a marijuana user and want a fun D.I.Y. project, then try growing marijuana at home. Not only is buying marijuana now legal in Canada, but you can also grow up to four marijuana plants at a time either indoors or outdoors. There are some restrictions in certain provinces and you’ll need to keep your plants out of public view, but most adult users will be able to grow plenty of weed.
There are tons of choices when it comes to growing marijuana. You can find seeds for pretty much any kind of strain. But while sativa strains are popular choices for many users, it’s best to grow indica marijuana if you’re a beginner. Indica strains are quicker and easier to grow than sativa strains and are also better-suited to indoor growing, especially during winter.
Although many people now successfully grow weed at home, it’s quite an intensive task. You’ll need to invest in some growing equipment and you’ll also need to invest a few months into growing your plants. However, once you get the hang of growing, you’ll find it easy to create top-quality indica marijuana right at home. Here are eight steps to grow awesome indica marijuana.
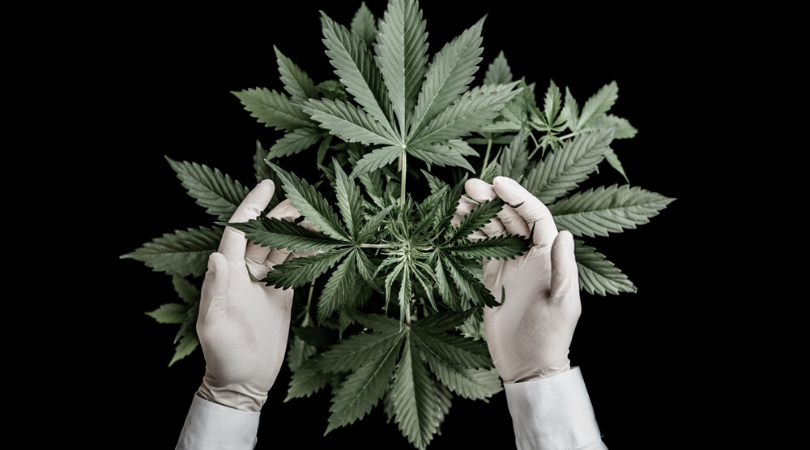
The first step for growing awesome indica marijuana is to pick a strain. While sativa strains are known for giving you a stimulating head high, indica strains are more known for their deeply relaxing physical effects. However, each indica strain differs slightly when it comes to aroma, taste, and effects.
You might want to pick based on strains you enjoy smoking or strains you enjoy the flavor of. However, strains also differ in their growing attributes. Some indica strains are easier to grow than others and some mature faster. You might want to do your research before you pick a strain.
Fortunately, there are plenty of great indica and indica-dominant strains to choose from. Some popular options include Death Bubba, King Louis XIII, and Violator Kush.
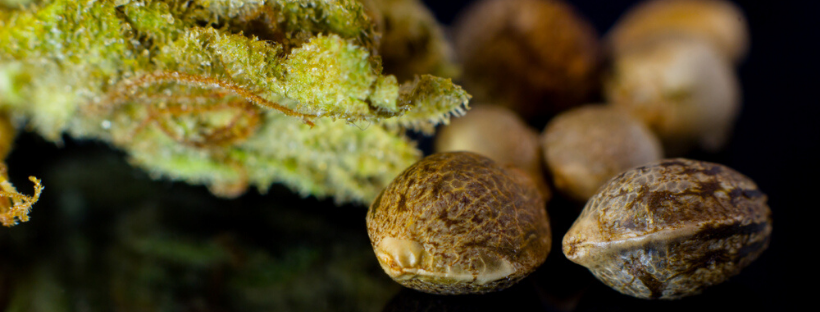
Along with picking which strain you want to grow, you’ll also need to pick which type of seeds you plan to use. There are a few different types of cannabis seeds such as regular seeds, feminized seeds, and autoflowering seeds. It helps to know the difference between these seeds so you can pick the best ones for your growing needs.
Regular seeds are best to be avoided if you’re planning to grow marijuana. Although regular seeds are easy to find as well as being the cheapest option, there’s a reason why most growers avoid these. Regular seeds have a 50/50 chance of being male or female. Only female plants produce marijuana, and growing male plants next to them can ruin their yields.
Feminized seeds are a much better option for marijuana growers. These are seeds that have been genetically enhanced to consistently grow female plants. As such, you’re guaranteed to grow female cannabis plants full of THC-rich marijuana. Although you’ll have to pay more for these than regular seeds, they’re worth it.
Autoflowering seeds are another option. These are cannabis indica or sativa seeds that have been crossbred with cannabis ruderalis seeds. Cannabis ruderalis is a type of cannabis with the ability to grow much faster than other types. As such, when these are crossed with feminized cannabis seeds, you’ll end up with marijuana plants that grow much faster than usual.
You can find different types of seeds for pretty much any strain- just look in seed banks or online. If you’re looking to grow marijuana successfully, make sure you either opt for feminized seeds or autoflowering feminized seeds. Both of these work well for beginners, although autoflowering seeds will grow faster at a higher cost.
There are two options when it comes to growing marijuana at home- indoors or outdoors. Both of these methods have pros and cons and the decision will often depend on the conditions and the kind of space you have available to you.
Outdoor growing is much more hands-off and requires less effort. With that said, you’ll have less control over your plants and may have to wait longer for them to grow. Your yields might not be impressive as they would be with indoor growing, but some users prefer outdoor growing as they find it easier.
However, outdoor growing requires good weather meaning you’ll have to wait until summer to grow indica strains outdoors. Fortunately, indoor growing is always an option. Indoor growing gives you control over the light, heat, and temperature your plants get. This makes it easy to simulate the perfect growing conditions for your plants, resulting in impressive yields of quality indica marijuana.
The drawback of indoor growing is that it requires a lot of investment both in terms of time and money. You’ll need to buy artificial lighting and air conditioning for your grow space along with nutrients and containers for your plants. You’ll also have to make sure your plants get the right growing conditions each day. It can be tedious, but it’s worth it in the end.
To grow marijuana at home, you’ll need to set up a dedicated growing space. Not only will you need to set up your space with everything your plants need to grow, but you’ll also have to keep certain legal requirements in mind.
If you plan to grow indoors, you’ll need to buy some growing equipment. Artificial lighting such as HID lighting is best for growing plants indoors. You’ll also need some kind of air conditioning so you can control the temperature your plants get. You should also buy some plant containers and nutrients for your plants or nutrient-enriched super soil.
You’ll need to set up an enclosed space for your plants so that you can control the amount of light and heat they get. Indoor growers often use a tent, closet or even a box for growing. You can also buy all-in-one indoor growing kits. Although they’re expensive, they give you everything you need in one handy kit and save you a lot of hassle.
You don’t need as much equipment for outdoor growing, but you’ll still need a few things. Raised plant containers help avoid potential flooding and pests. You’ll also need nutrients such as nitrogen, potassium, phosphorus, and calcium. You can use nutrient-enriched water or soil to ensure your plants get these.
The law requires that you keep your plants out of public sight and out of reach of children. You might want to use a locked room if you grow indoors. You might also need to build a fence or enclosure around your plants if you grow outdoors. New Brunswick laws state you need an enclosure at least 1.52m high around your plants.
Once you have your seeds and you’ve set up your growing space, it’s time to start the process of growing your marijuana. The process can vary slightly depending on how you choose to grow your plants, but there are a few important rules that apply.
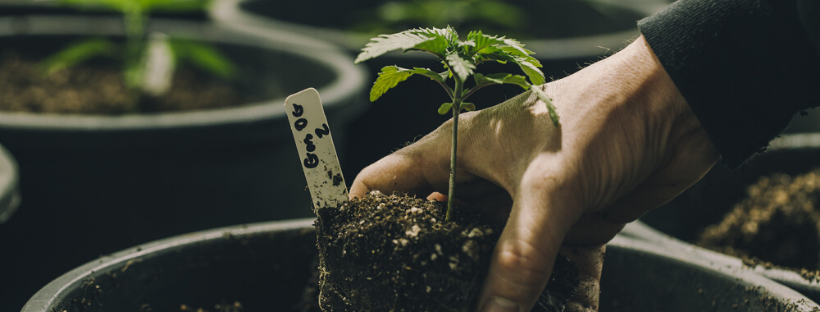
First of all, it helps to germinate your seeds before you start growing them. You can do this by placing your seeds between a few damp paper towels on a dish and leaving them until the seeds begin to sprout. Once they sprout, carefully transfer them to pots full of soil using tweezers until the seedlings start to grow.
When your seedlings start to grow, you can transfer the pots to your growing space. During the beginning stages of growth, your plants will need a temperature of around 70-75°F and around 18 hours of light a day. They also need nitrogen, potassium, phosphorus, and calcium. If you aren’t using super soil, then add a nutrient mix to water and use it to water your plants.
Within around four to six weeks, your indica plants should begin to flower. They’ll need less light and heat at this point. It’s best to keep them at a temperature of around 65-70°F and give them around 12 hours of light a day. Within another couple of months or so, your plants should be ready to harvest.
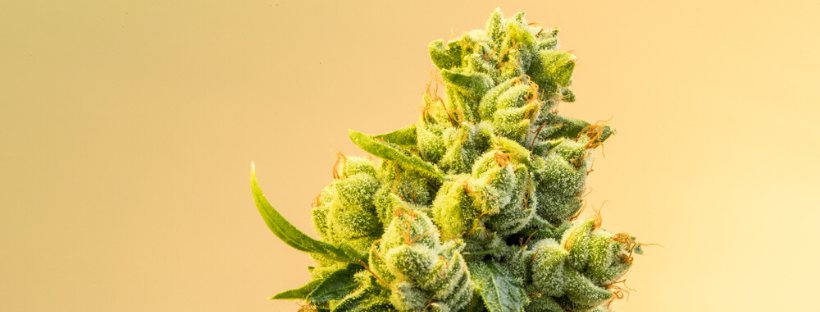
Once your plants reach the final stage of growth, you should check them regularly to check whether they’re ready for harvest. You can check on the progress of your plants by assessing the trichomes- the crystal-like formations that grow on the hairs of the buds.
Initially, the trichomes of your buds will look transparent. You’ll know they’ve begun to develop THC when the trichomes become cloudy white or opaque and most of the hairs on your buds have darkened. This is a good time to start harvesting your plants.
You might want to wait longer to harvest your plants. Once the trichomes begin to turn amber, this means that THC is starting to break down and convert into CBN. If you’re looking to produce high-THC buds, then it’s best not to leave it any longer to harvest your weed.
The growing process doesn’t end when your plants are ready to harvest. Before you start using your marijuana, you’ll need to dry and cure them to maximize their quality as much as possible. Drying is important as you won’t be able to smoke your buds until they’re dry. It also prevents mold from growing on your weed. Curing brings out more of the potency and flavor of your buds.
Start by trimming away at the stems of your plants until you’re left with the buds. Place them on a drying rack in a room with a dehumidifier and keep it at a relative humidity of around 50-60%. Alternatively, you can keep them on the stems and hang them on a line.
Check on your buds regularly until they’re fully dry- this usually takes around four to ten days. It’s important to ensure your buds don’t have any moisture as this leaves them prone to degrading and growing mold or mildew.
Once your buds are dry, you can store them in clean glass containers such as Mason jars for curing. Curing is an optional process that involves storing your weed for a longer time to improve its quality. Keep your containers in a cool, dry place and open the containers each day for around 30 minutes to let any excess air out. Your buds should be good to smoke after 2 weeks, although you may want to leave them to cure for longer.
After enduring the growing, drying, and curing process, there’s nothing left to do but enjoy the fruits of your labor. Although the time it takes to grow and harvest your plants can vary, you can generally expect to end up with quality indica marijuana within a few months.
You can test out your new homegrown marijuana in various ways. You might want to grind your buds and roll them into a joint for smoking purposes. You can also test out your weed in a dry herb vaporizer to bring out more of the flavor. You can even cook it into cannabis butter to make tasty edibles.
Now you’ve gotten the hang of growing awesome indica marijuana, you can try it time and time again and end up with a nice stash of homegrown weed. Just make sure you obey your local laws and only grow up to four plants at a time.
Indica marijuana is ideal for users looking for a relaxing physical high. It’s also great for medical users who want relief for issues such as chronic pain, inflammation, stress, and insomnia. Although it can be a time-consuming process, these steps will help you grow awesome indica marijuana.
Growing marijuana at home can be a great project for any marijuana lover. However, if you don’t want to go through the process of growing weed at home, you can also buy all your favorite marijuana strains online at GreenSociety.io for convenient home delivery.